
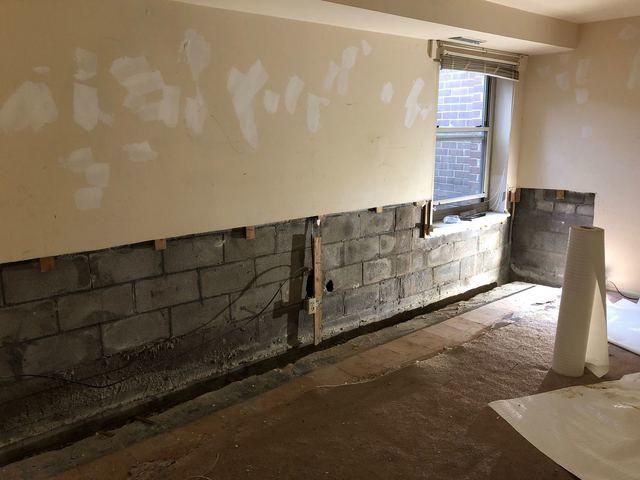
Before Vapor Barrier
Here is the cleaned up wall ready for CleanSpace
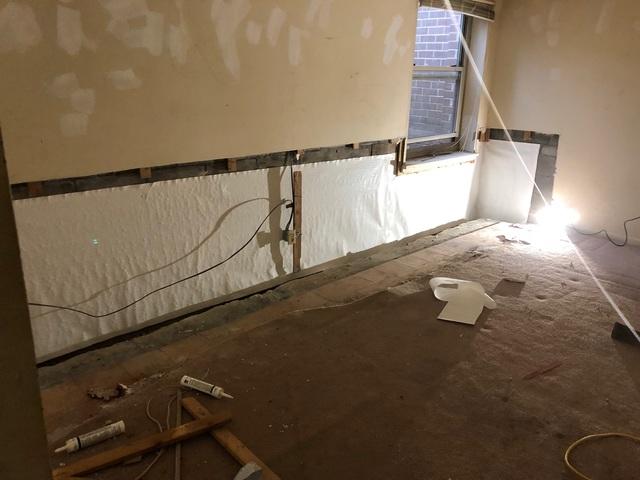
Addition of CleanSpace
This shows the process by which CleanSpace vapor barrier is added to a previously water damaged basement wall.
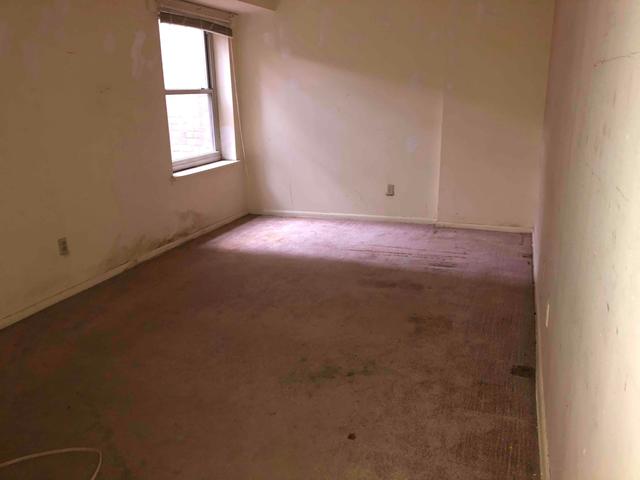
Evidence of Water Damage
Here you can clearly see the water damage on the walls and carpet.
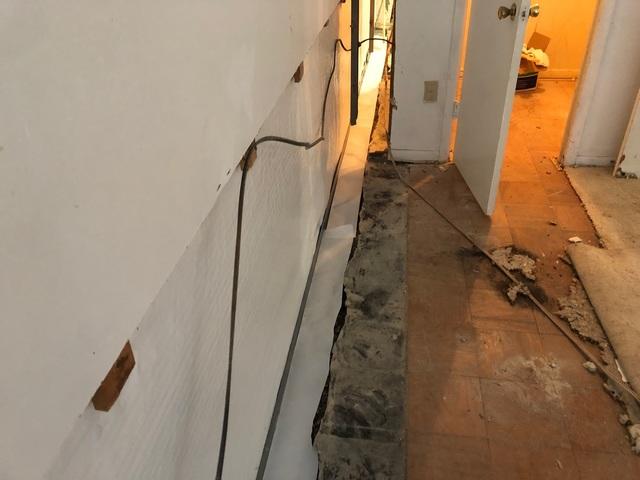
Mid-installation
All the damaged walls and floor have been removed so that the CleanSpace vapor barrier and WaterGuard can be added.